How to take food photos for menus, with and without AI
Prepare lighting, framing and portions for menu photography. When to use AI, what to review and how to keep the original photo.
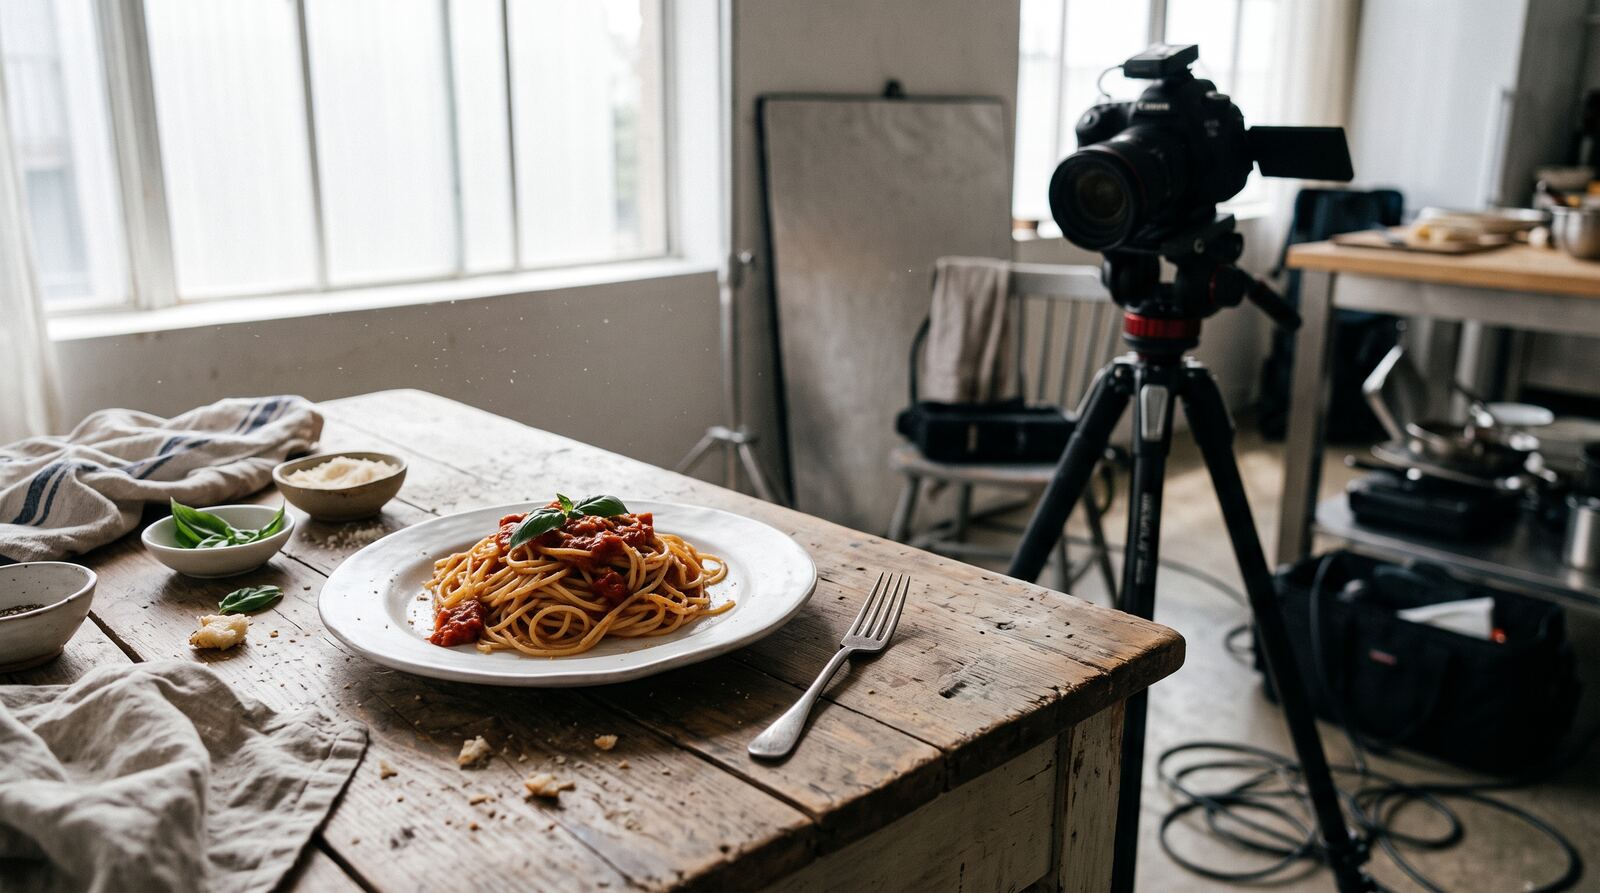
A menu photo should help guests choose and recognize the dish that reaches their table. Start with the actual portion, light that shows texture and consistent framing. Then decide whether you need a new photograph, an enhanced own photo or a generated image that requires review.
AI Chef Pro · AI for chefs55+ AI tools for your kitchen55+ AI tools to create recipes and menus and optimize your costs.Take a look →Prepare the dish before the camera
Use the tableware, quantities and garnish your kitchen serves. Clean the plate rim, arrange the elements you want to show and leave room around the subject. A sauce hiding the main ingredient or an unusually generous portion can establish a visual standard your line will not reproduce.
Make a small shot list: full dish, detail and a menu grouping. Every dish does not need a different background. A common style makes choices easier to compare and helps you repeat the session when a preparation changes.
Lighting and framing: build a repeatable routine
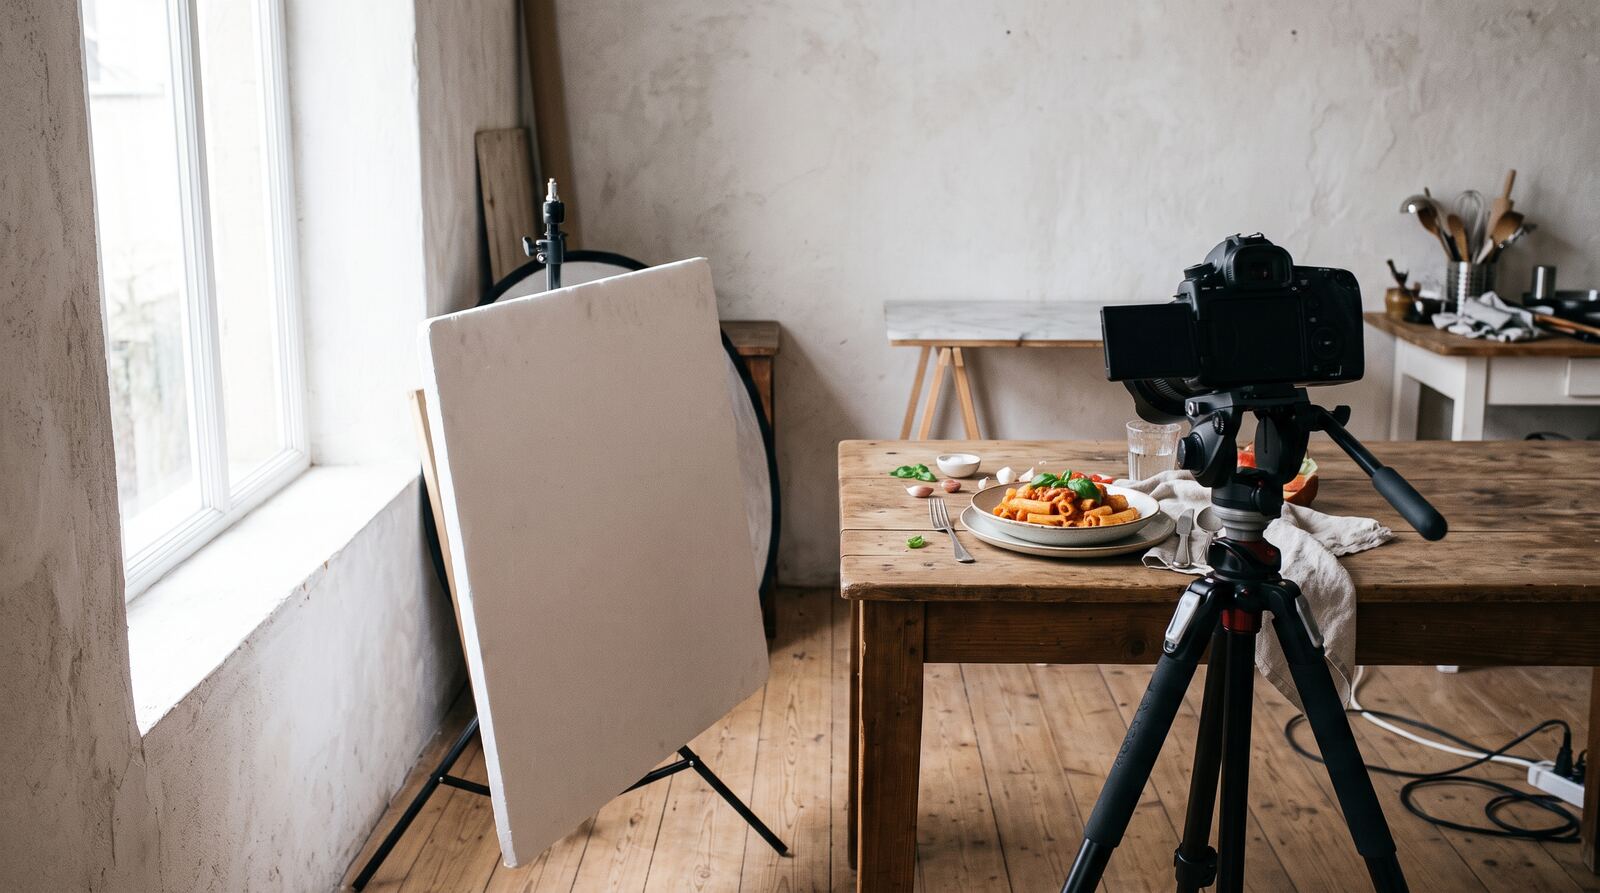
Adobe’s food photography guide covers lighting, angles and composition. Soft light helps show textures without harsh shadows. Try an angle that makes the shape of the dish clear.
As a practical routine, place the dish near a window and turn off lights that introduce color casts. Take a shot and enlarge it to review the plate rim, texture and focus. If your phone allows exposure and focus locks, check that they remain consistent between shots. These are preparation suggestions, not a requirement to buy particular equipment.
| Check | Practical question | Adjustment |
|---|---|---|
| Portion | Is this what normally leaves the pass? | Match the kitchen standard |
| Light | Can I see texture without blown highlights? | Move the dish or soften light |
| Framing | Are the important components recognizable? | Change angle or distance |
| Background | Does it compete with the food? | Remove unnecessary objects |
| Series | Does it match the other menu photos? | Repeat framing and tableware |
Own photo, enhancement or generation: choose by reference
Your own photograph is the starting point when you need to document how the dish actually leaves the kitchen. Keep the original file and choose the frame that best explains presentation.
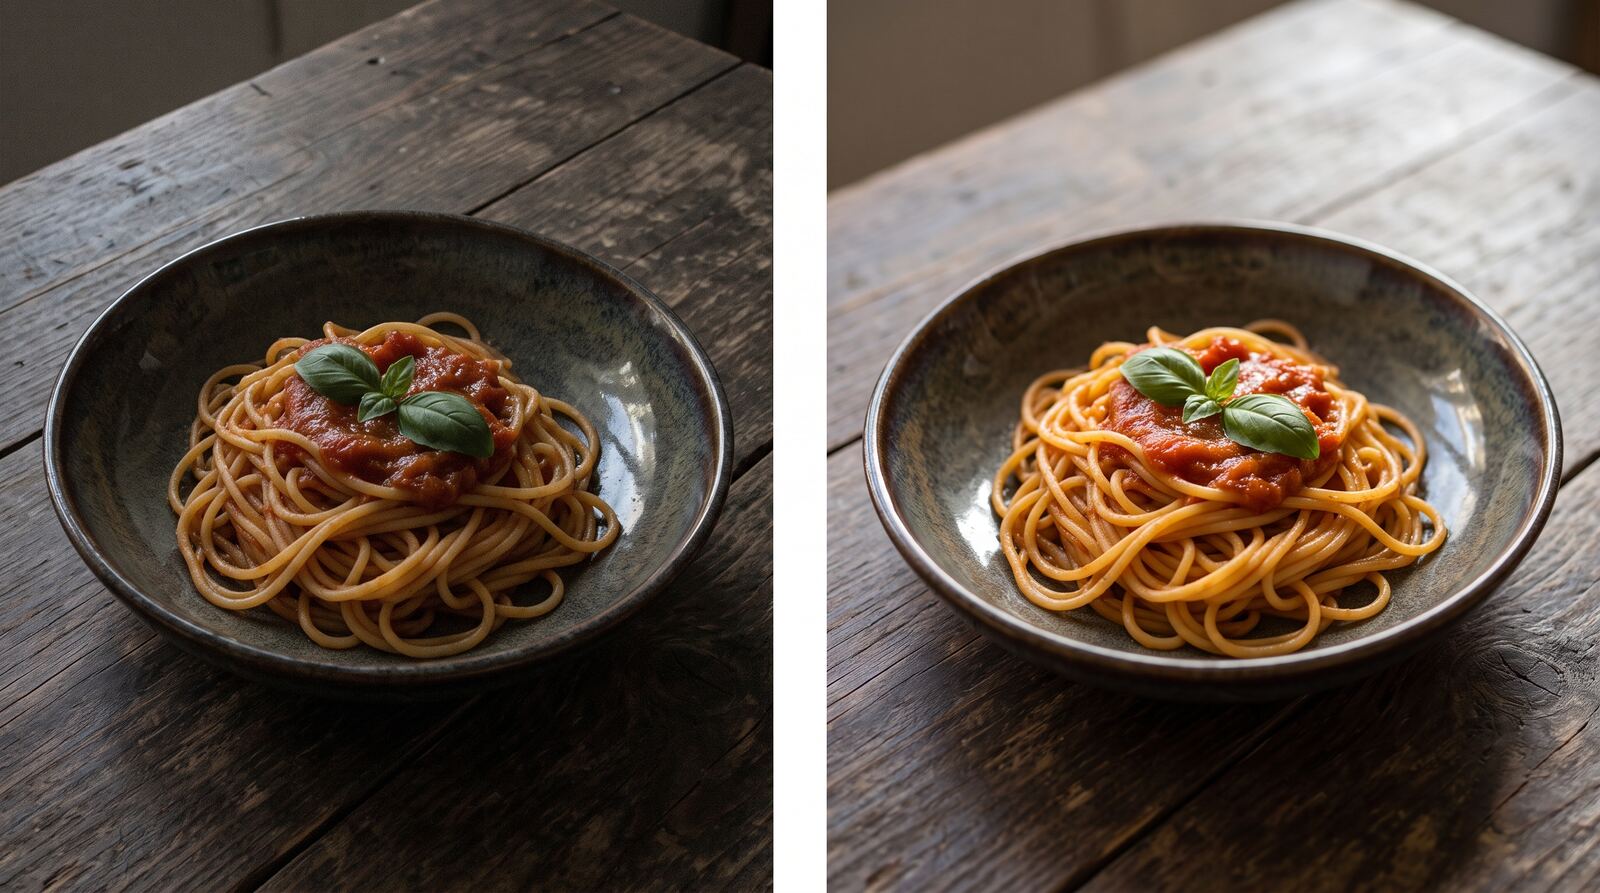
AI enhancement fits an own photo with the right subject that needs work on light or focus. Compare the result with the original: a change in portion or ingredients matters more than a more attractive texture.
Generation from the recipe record can fill a photo-free sheet. Describe ingredients and presentation carefully, then compare the output with an actual dish before using it on a menu. If the record does not explain plating, the model interprets the missing information.
Do not use other people’s photos to remove watermarks. The feature requires an own-photo declaration; it does not automatically verify usage rights.
Bring the workflow into Miselup
AI food photography covers generating, enhancing and filling photo-free records in batches. Nano Banana 2.1 costs 100 credits per saved image. The original is preserved and the result is marked as AI. The image guide explains confirmation and main-image selection.
The batch shows its budget and only selects active records you own with no main or gallery images. Keep the tab open. Canceling lets the current image finish; it does not schedule an unattended overnight job.
Review the image inside the recipe sheet
The name, ingredients and image should tell the same story. A duplicated variant does not inherit photos: document the new version after adjusting its composition. Recipe management helps separate variants and financial details from kitchen instructions.
Check the thumbnail crop as well as the main photo. Before sharing, review whether your URL publishes financial details and allows search engine indexing. Compare plans or create an account and choose a plan.
ChefBusiness · Real profitabilityMaximize your restaurant without losing moneyCost control and food marketing. Book your ChefBusiness consulting now.Get the consulting →Frequently asked questions
Do I need a professional camera for menu photos?
You can start with a phone, a clean surface and window light. Keep distance, framing and tableware consistent across dishes. The priority is to represent the actual portion and check focus and color. Better equipment cannot fix plating that differs from what your kitchen serves.
When should I enhance a photo with AI?
When an own photo represents the dish correctly but needs improved light or focus. Miselup keeps the original and saves a separate result. Check composition and portion before using it. Asking the model to preserve the dish does not guarantee an exact interpretation.
How much does an AI food photo cost in Miselup?
Generating or enhancing a successfully saved image costs 100 credits. That balance is shared with Mise conversations and reports. The confirmation shows cost and balance first. The budgeted batch selects only active records you own with no main image or photos in the gallery.
Can an AI photo establish a dish’s allergens?
No. Images support presentation but do not establish ingredients, cross-contact or food safety. Check allergens from the actual ingredient records and your procedures. If the model adds a garnish your kitchen does not serve, correct the result before publication and preserve the real presentation standard.